Widening the acrylic viewport
One other major consideration was that the view port acrylic panel isn’t quite wide enough for the 1920x480 IPS LCD that was replacing it. There is a silk-screened border all the way around, which is particularly thick on the left and the right which would hide almost a full inch (2.54cm) of the new display. Belsamber didn’t mind this as he used modified TTY values to limit the console’s output width, effectively ignoring the right edge of the screen. But, I wanted to see the full display, and it turns out that the acrylic itself would actually be just wide enough if the black silk screen could be removed somehow. So, that became the goal.
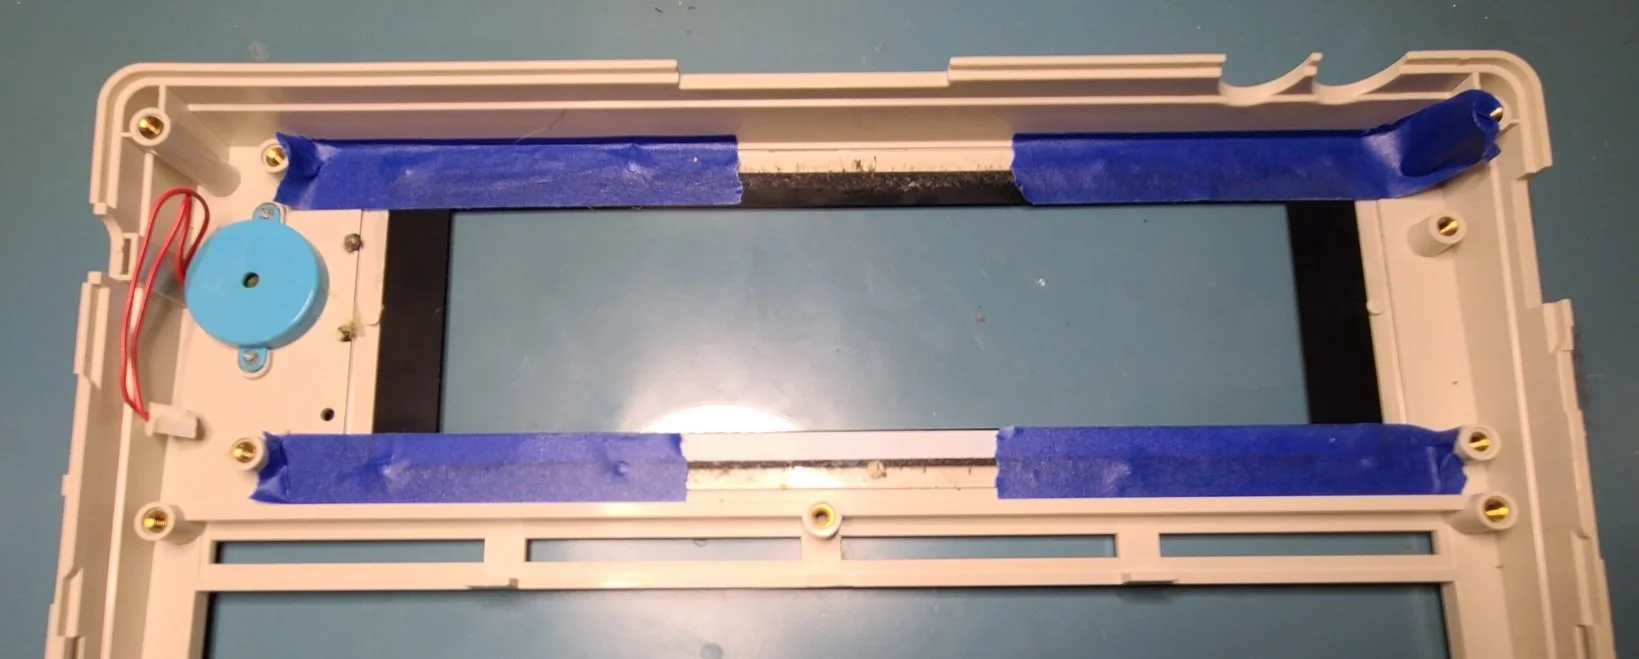
Masking the acrylic for removing the left & right part of the silk screen. I’ll remove the silk screen with diluted acetone and then use my Novus plastic polish to give the acrylic the best see-through experience possible.
I chose acetone to disolve the silk screen on the left & right borders of the acrylic. My original concentration of acetone was 100%, and that ended up being a mistake. Trust me on this: don’t ever use 100%! It eats right through acrylic, which I found out in my test spot. I diluted the acetone down to 30% with isopropyl alcohol, and this mixture was perfect to loosen the silk screen just enough where I could clear it off with Q-tips.
After silk screen removal was finished for both sides I still had very opaque acrylic in those areas which needed the full Novus 3, 2, and 1 treatments. I think I spent about 2 hours on each of the sides getting each to a “good enough” level of transparent clarity. It isn’t perfect but it definitely is usable.
Doing a test-fit of the screen itself into the top case showed pretty good results. Here’s the new look:
You can’t really see it well in this photo but the acetone did bleed into the top & bottom silk screen just a bit, but overall it isn’t too bad.


